Fit the bit
Calculate the space needed between the welt and the axe head, accounting for the thickness of the bit.
A snug-fitting sheath sits securely on the axe head, providing better edge protection. No more wobbly sheaths.
An axe sheath template designer for both professional and amateur leatherworkers
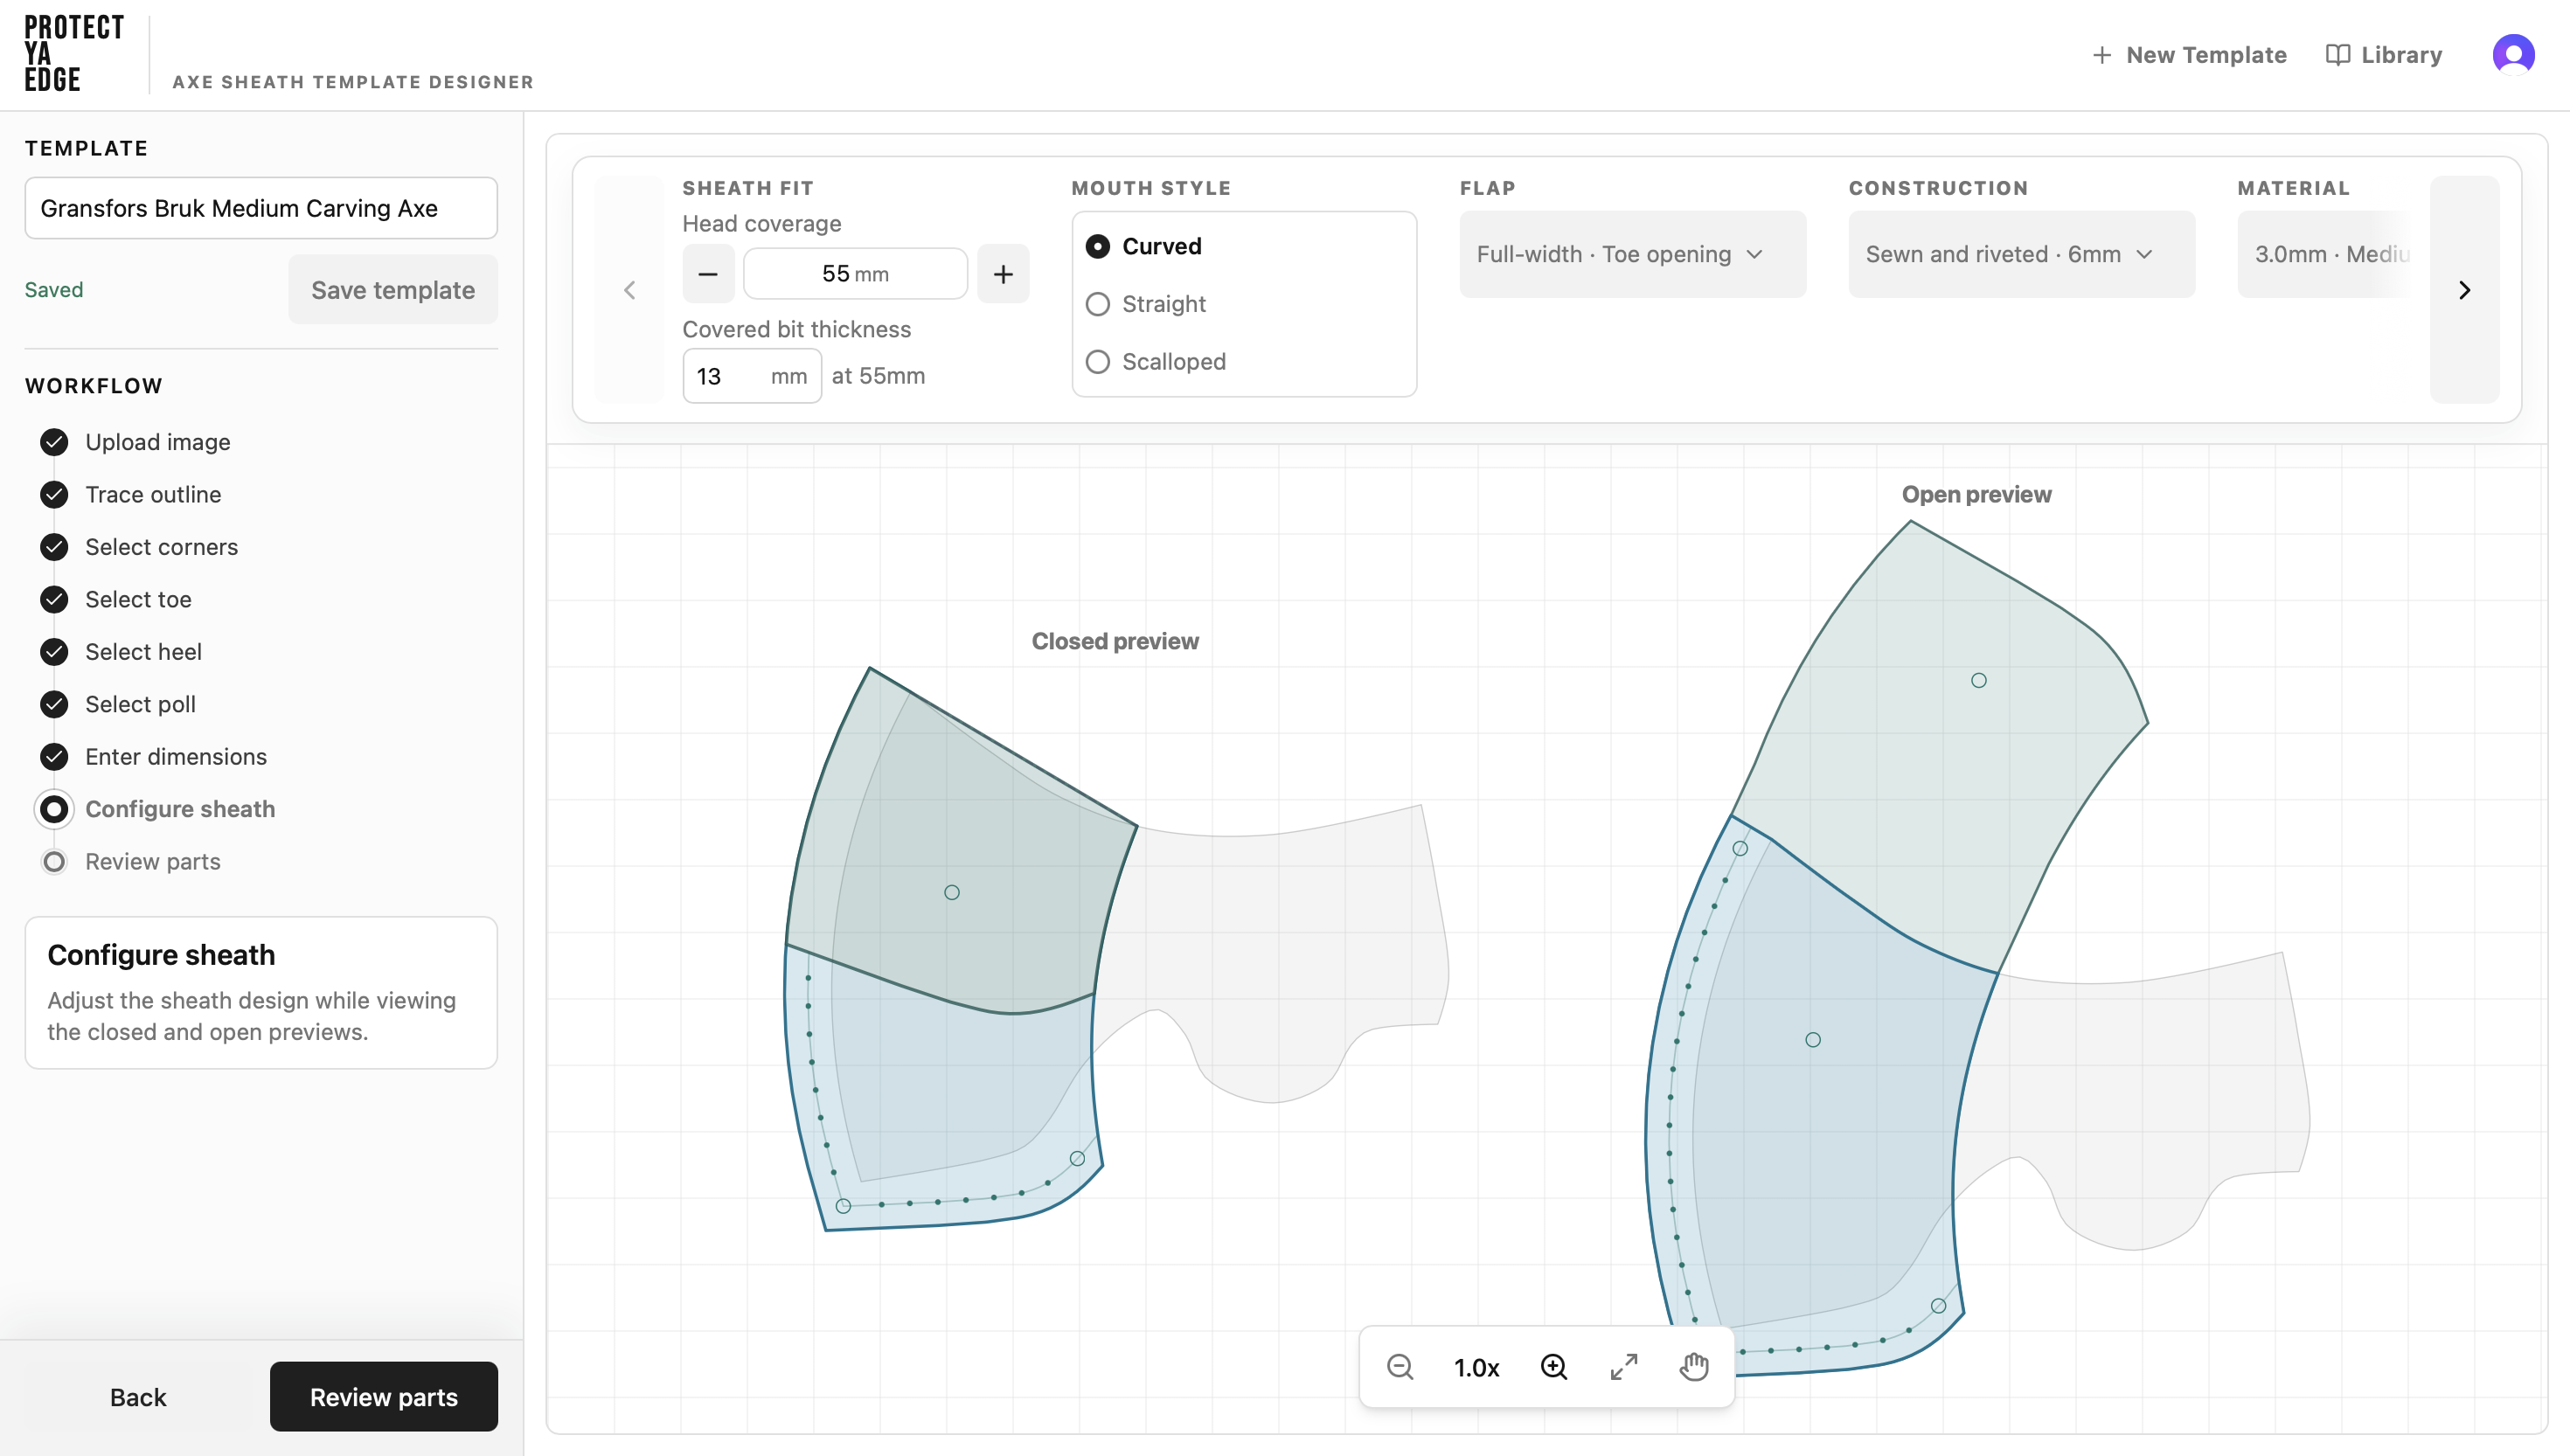
Making a well-fitting sheath by hand means understanding how the axe head and the properties of the leather work together. A small mistake can mean starting over and wasting expensive materials.
Calculate the space needed between the welt and the axe head, accounting for the thickness of the bit.
A snug-fitting sheath sits securely on the axe head, providing better edge protection. No more wobbly sheaths.
Working out the flap shape and the extra allowance for a 180° fold can be tricky.
The template calculates the necessary material allowance based on the leather’s temper, so you can cut only the leather you need instead of trimming away an oversized piece later.
Try different stitch spacings and see where the marks fall along the sides before marking the leather.
Avoid finding out too late that the final hole sits too close to the edge—or leaves an awkward gap.
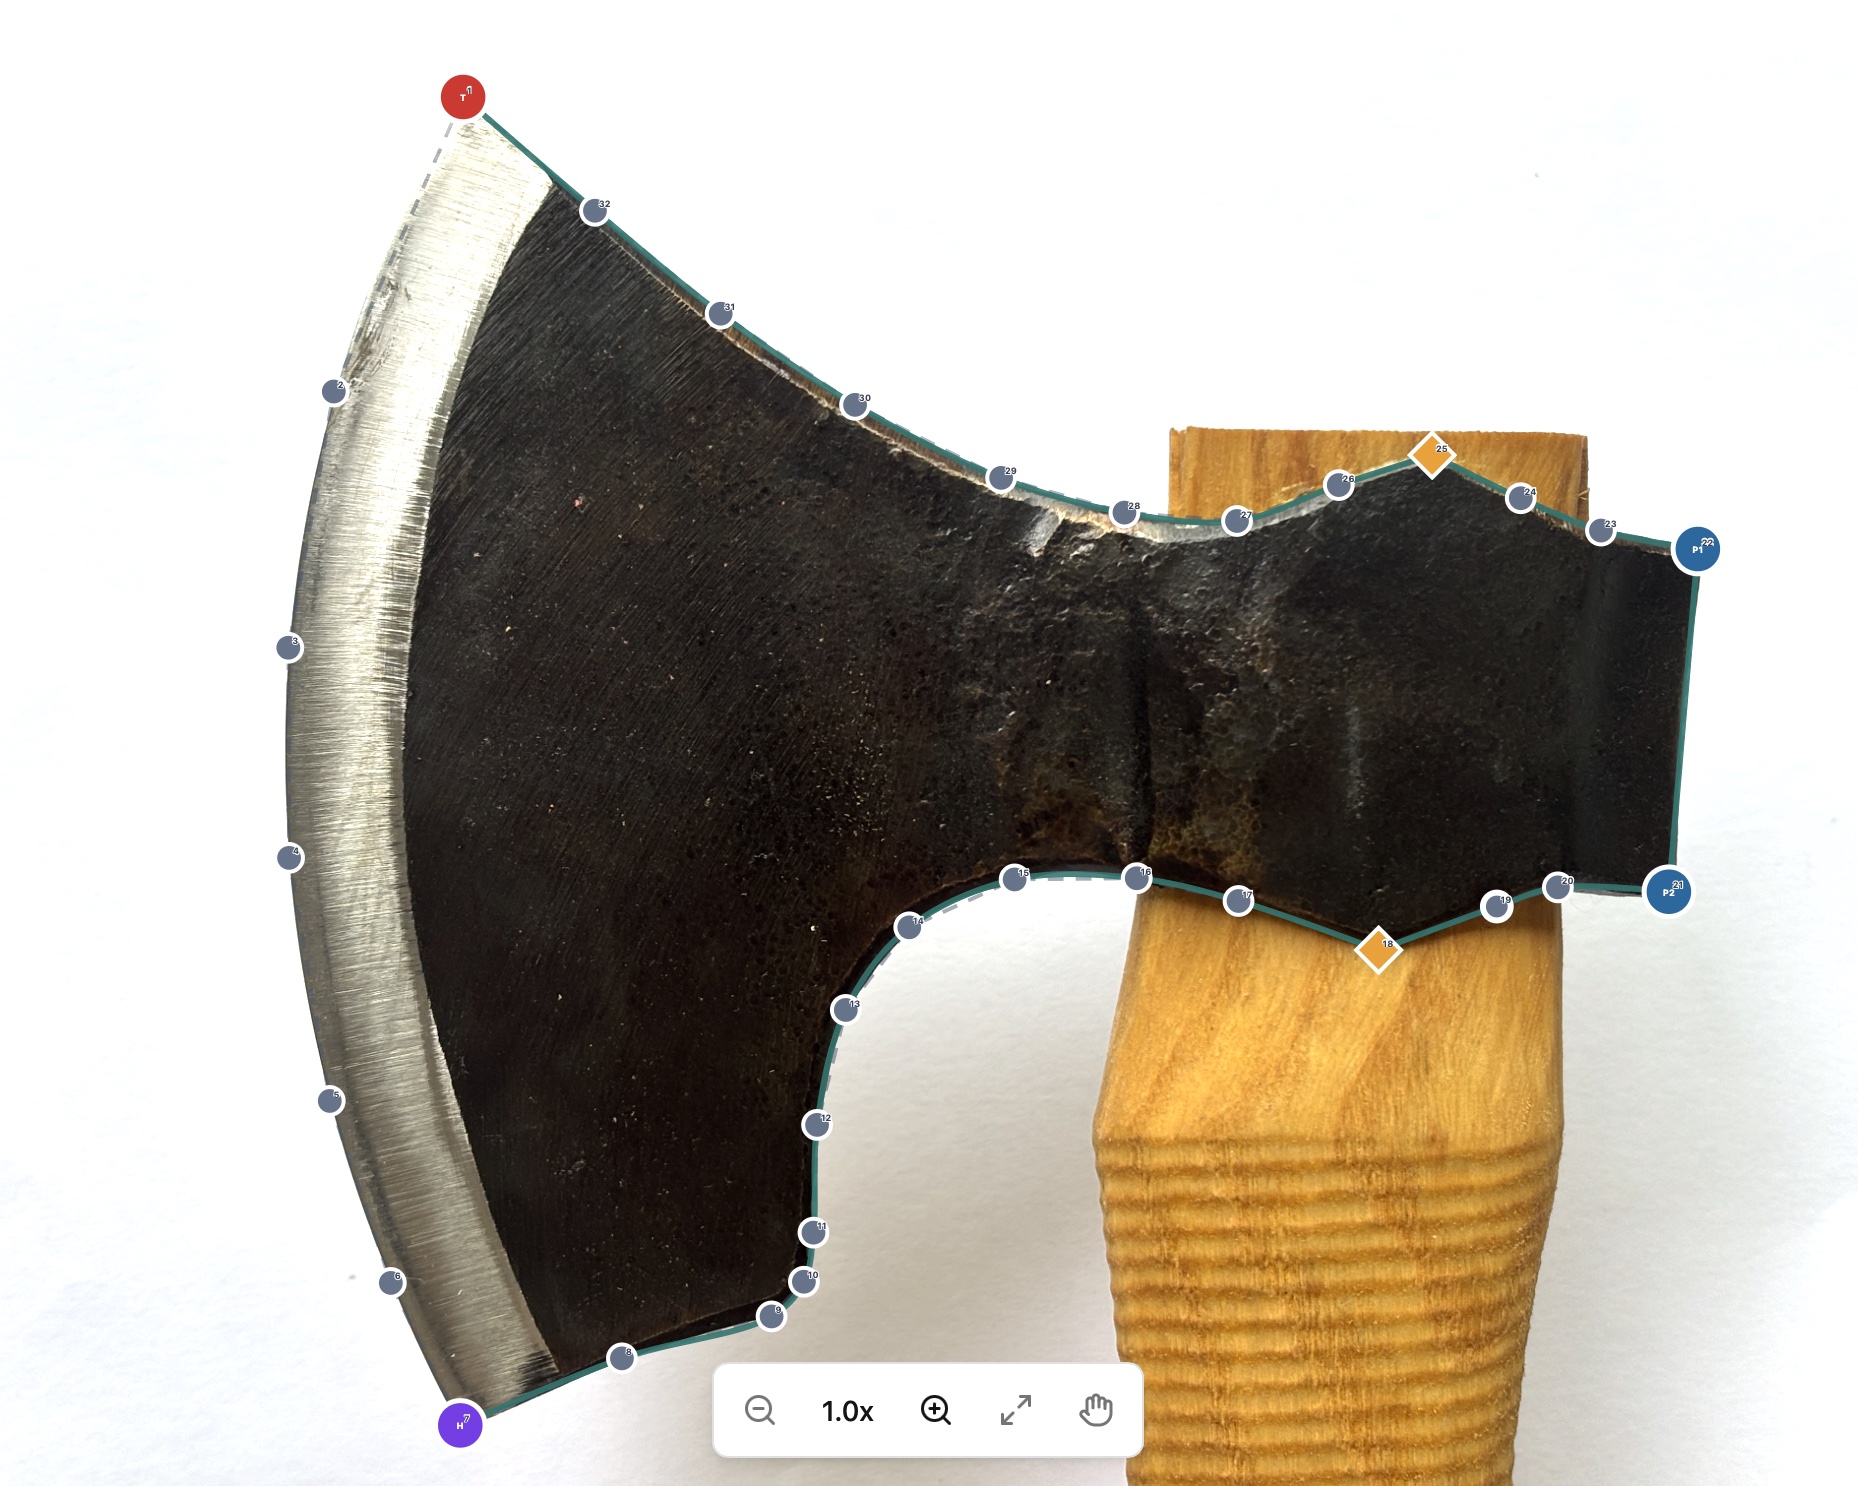
Create a template from a photograph and a couple of measurements.
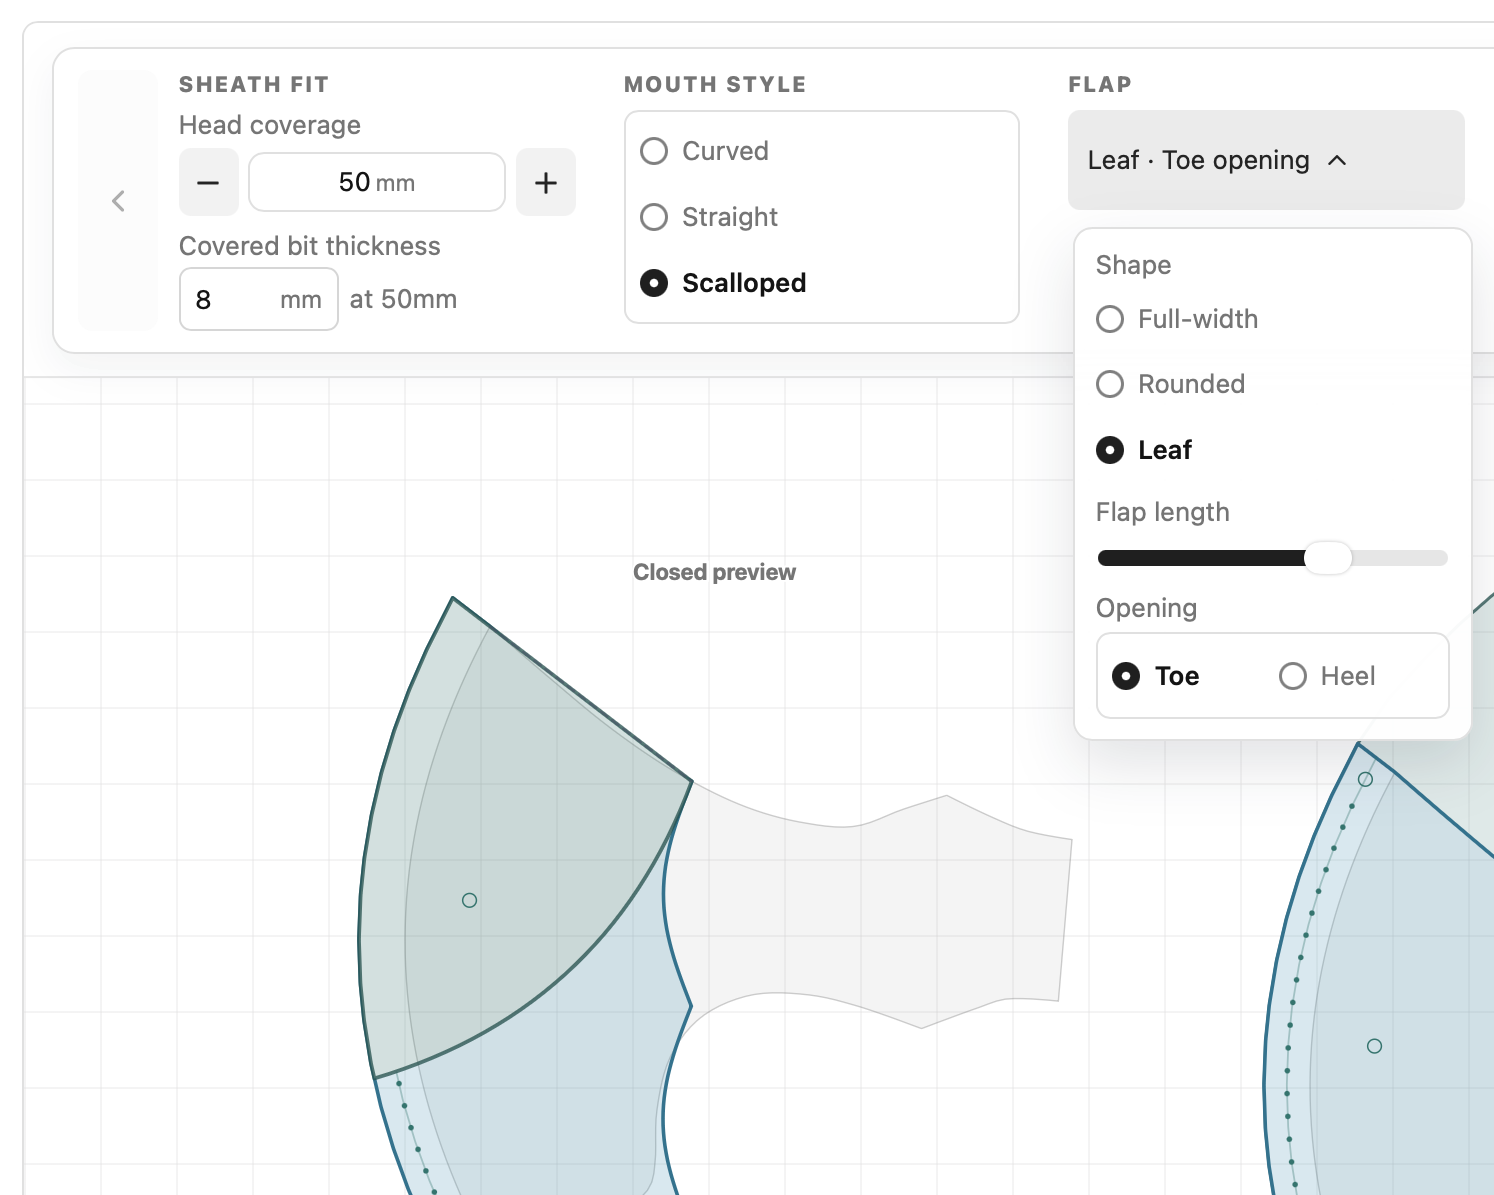
Choose the mouth style, flap shape and toe or heel opening, and set how much of the axe head the sheath covers.
Choose sewn, riveted or both, and adjust the stitch and rivet spacing to suit your build.
Calculate the space needed between the welt and axe head, accounting for the thickness of the bit, for a snug fit.
The fold allowance is calculated from the leather’s temper and the thickness of the axe bit, so the flap folds into the right position and aligns with the main body of the sheath. Cut only the leather you need instead of trimming away an oversized piece later.
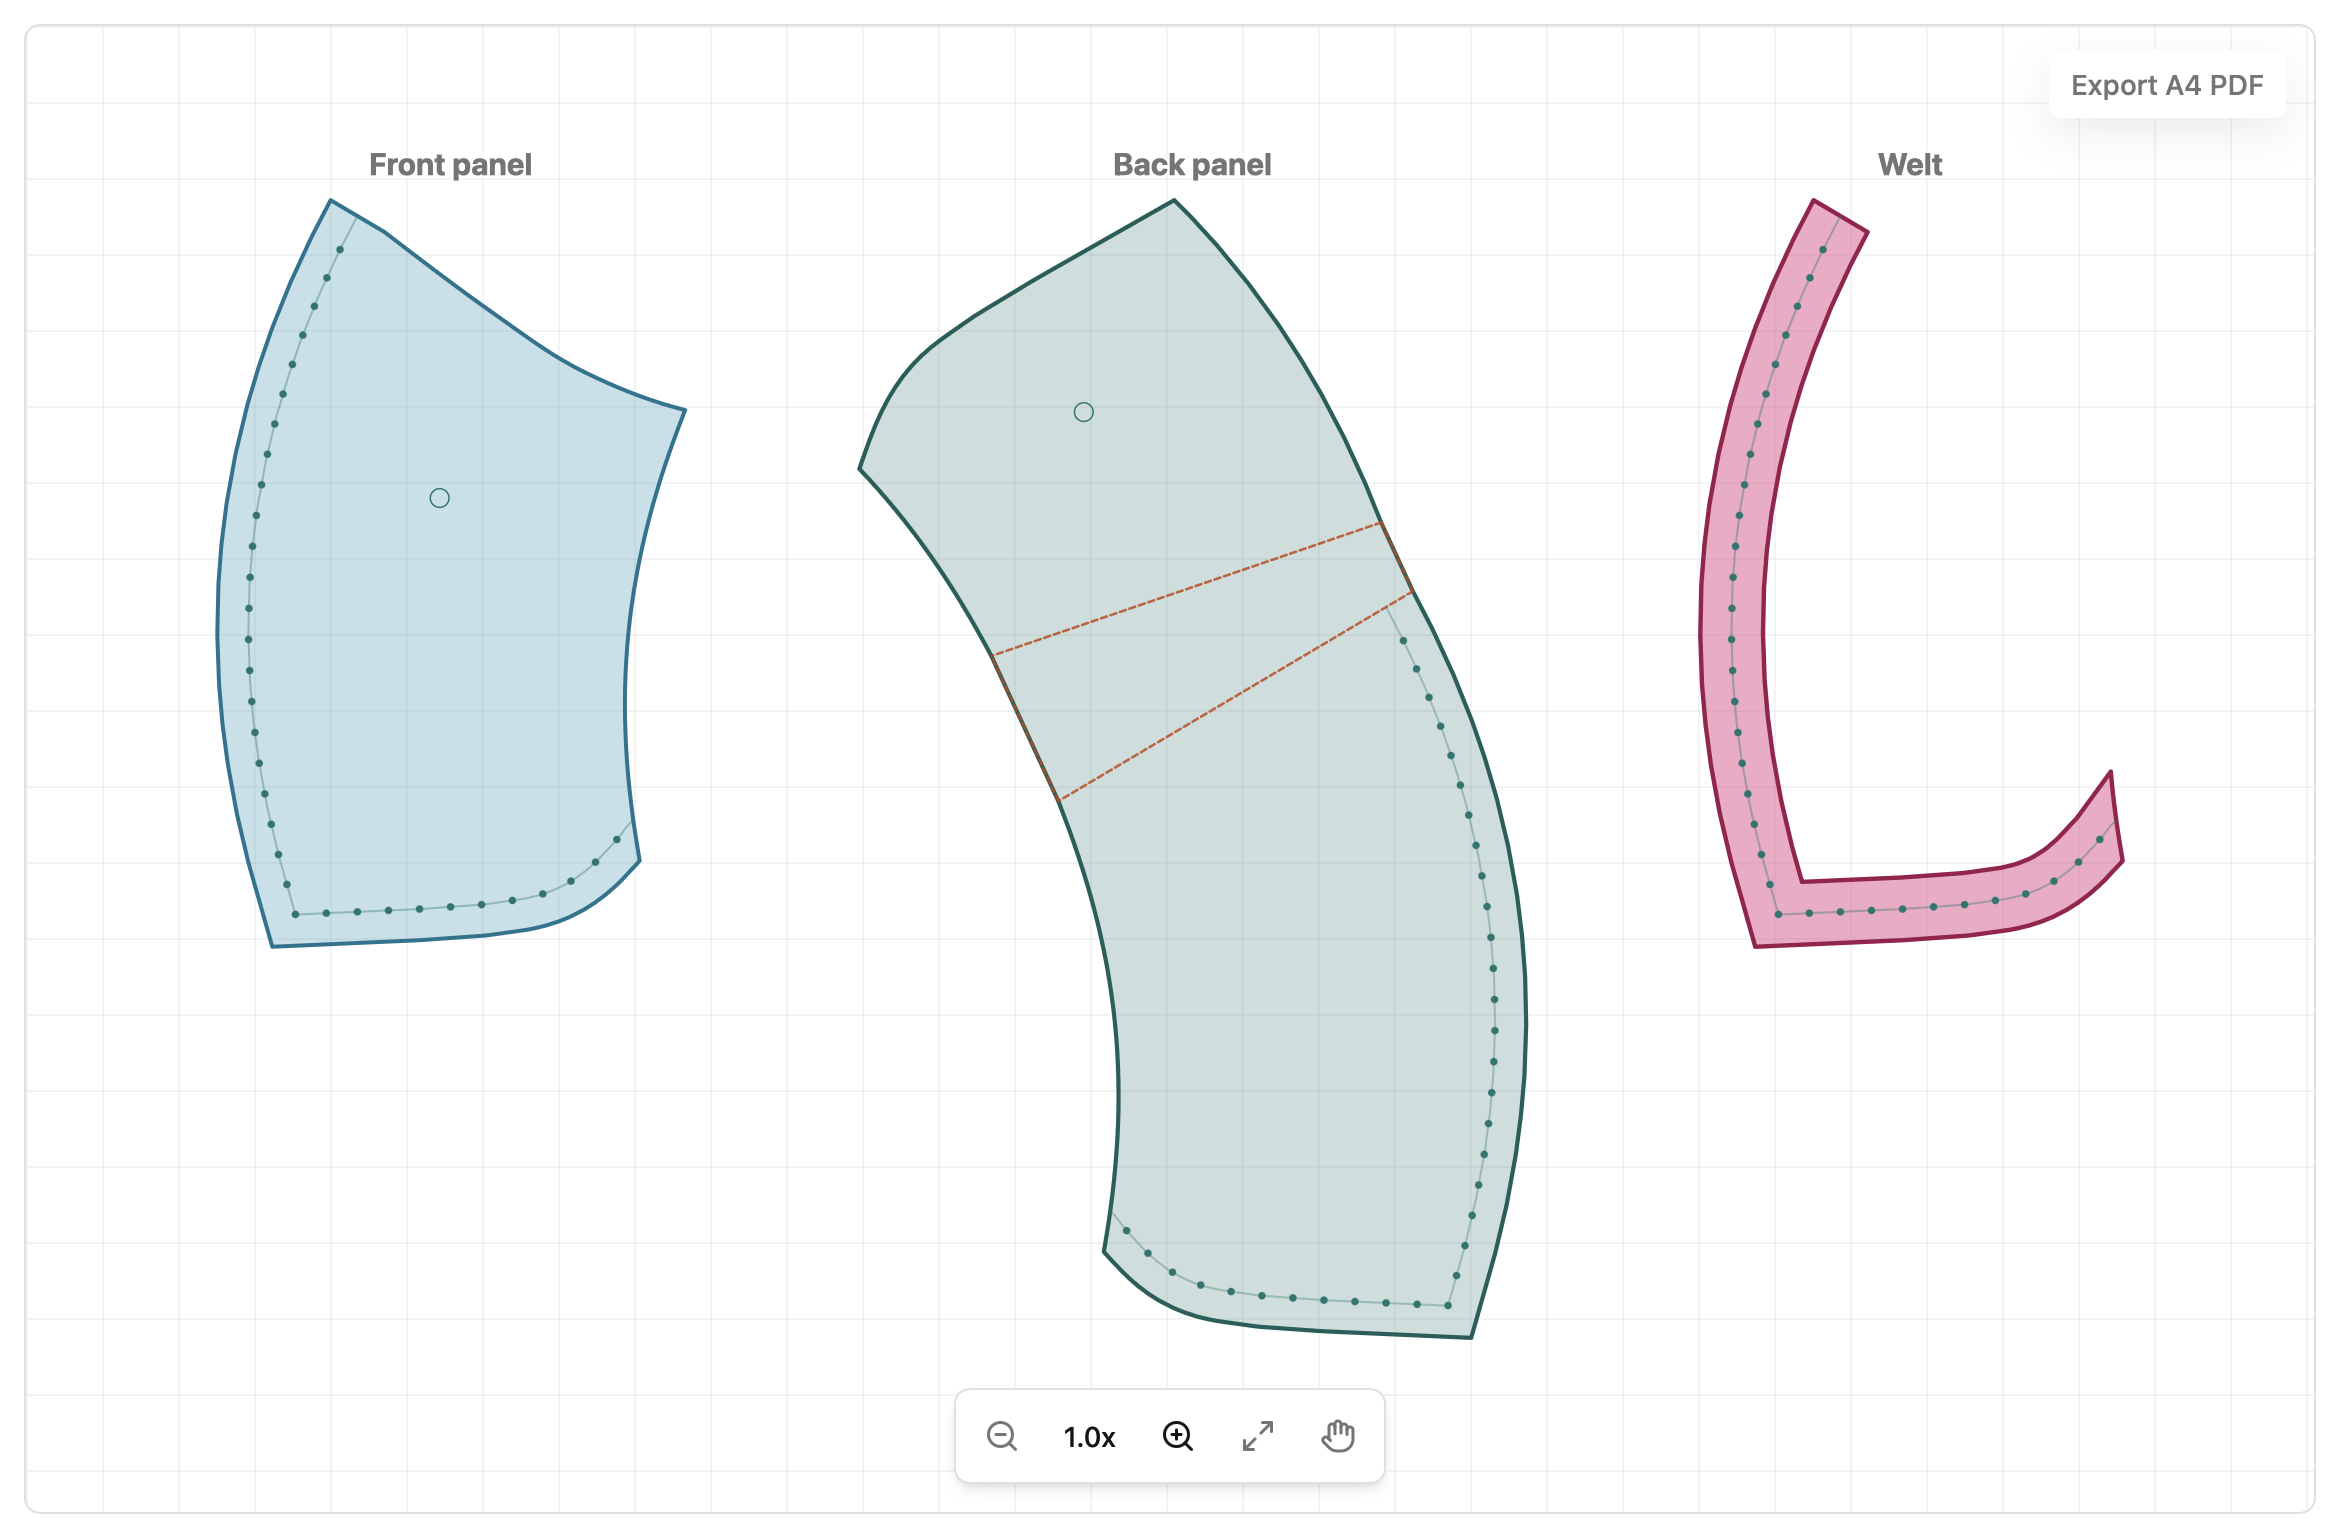
Review the front panel, back panel and welt, then export an A4 PDF.
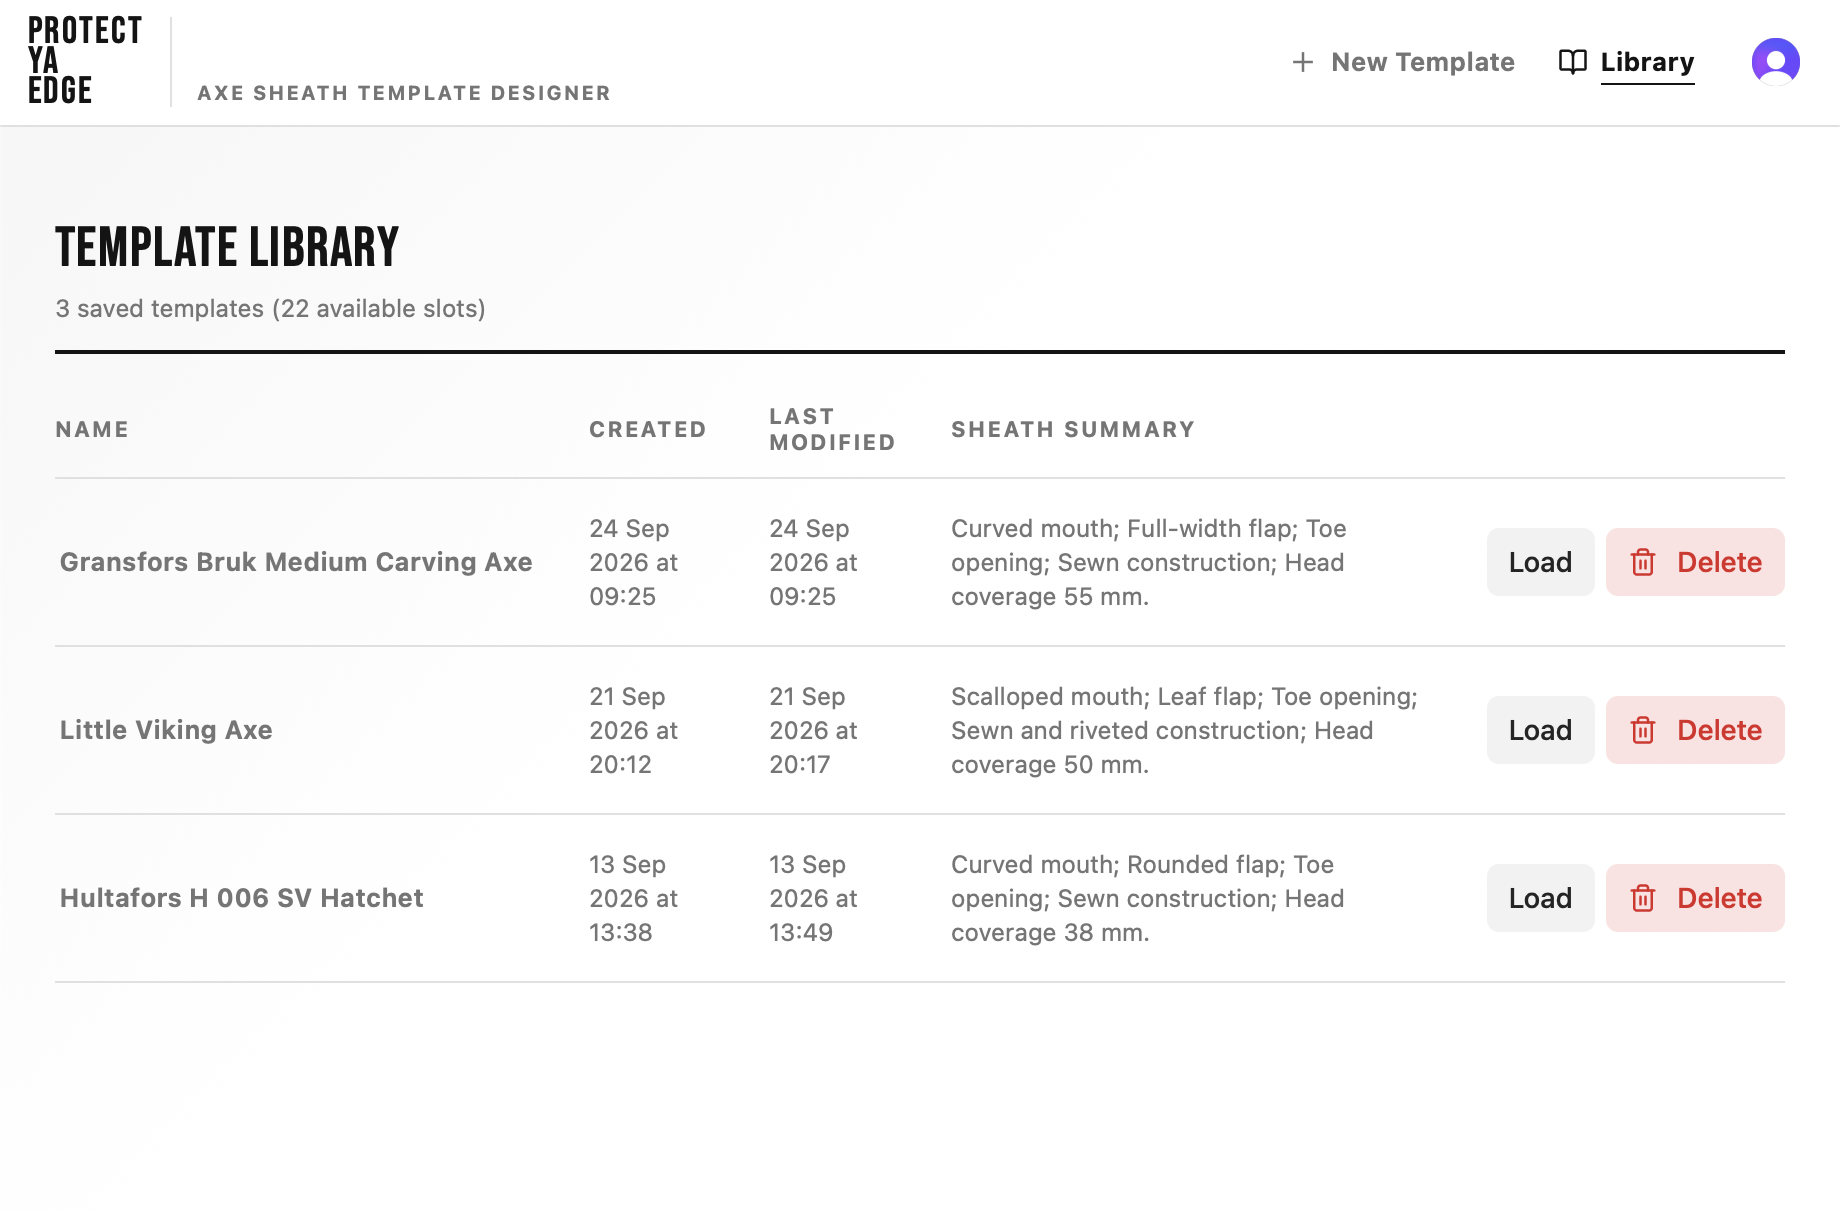
Save your templates to your personal library and reuse them later.